An external valve leak should be diagnosed by its exact source. A loose manual bleed, damaged O-ring, solenoid seal, bonnet gasket, anti-siphon poppet, threaded fitting, or cracked body requires a different repair. Dry the valve, pressurize it briefly, and identify the first point that becomes wet.
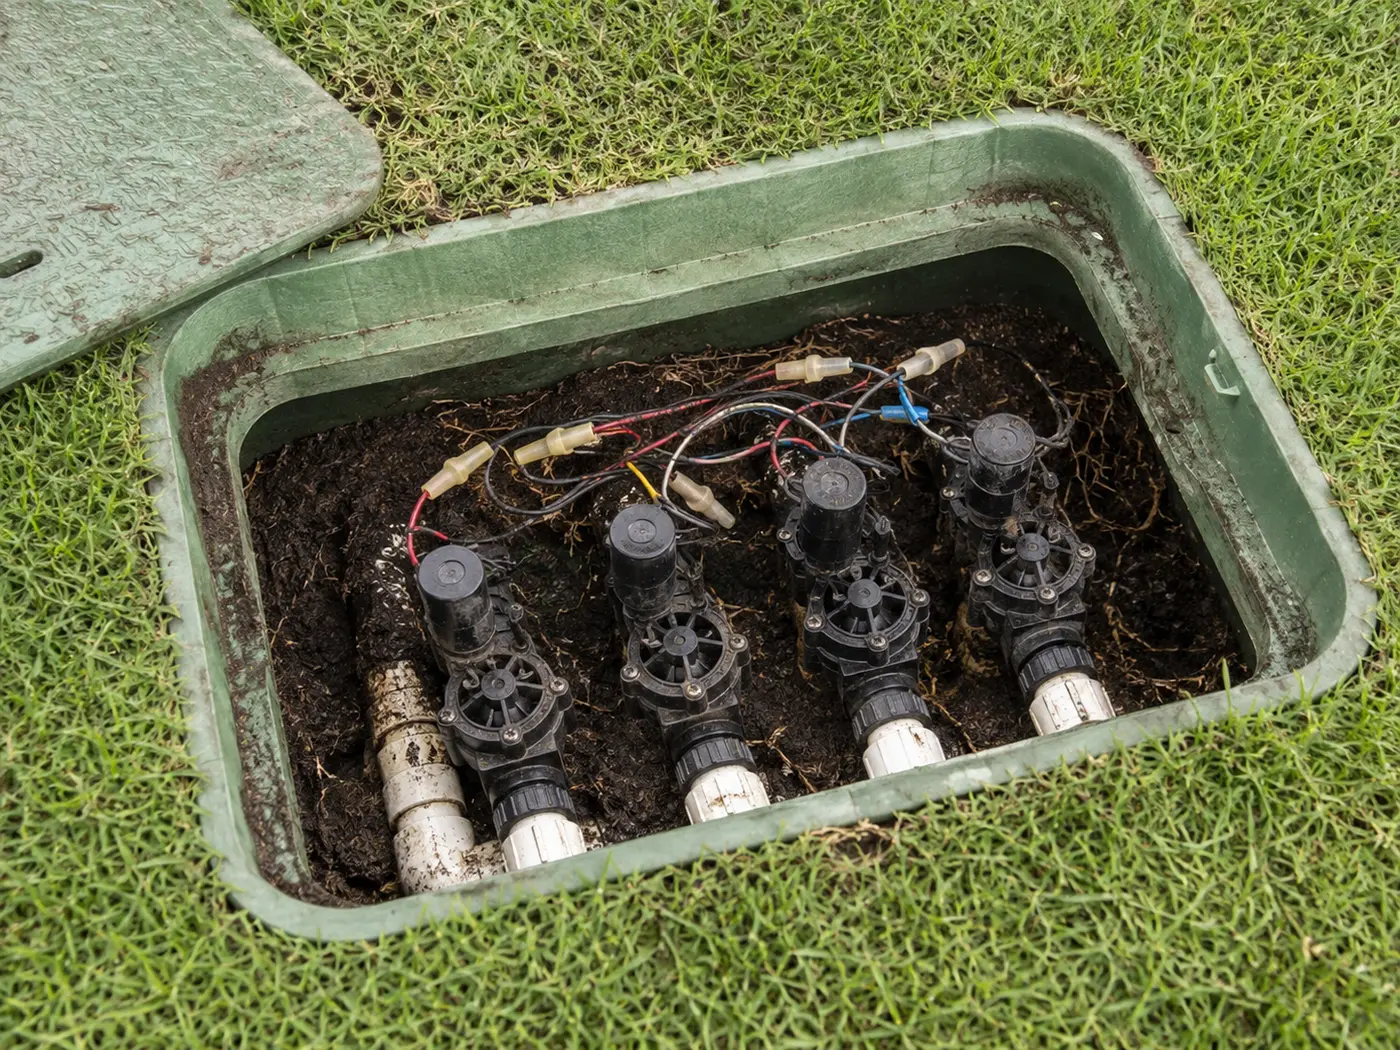
Match the pattern before opening anything
| Possible cause | Best clue | First check |
|---|---|---|
| Loose bleed screw or solenoid | Leak starts at a manual control | Seat it gently to the original closed position |
| Bonnet gasket or O-ring | Water beads around the valve top seam | Confirm model before opening |
| Anti-siphon poppet debris | Leak comes from the vacuum-breaker cap | Use the model-specific service procedure |
| Cracked body or fitting | Water sprays from plastic or threaded joint | Shut irrigation water off promptly |
Read the system before replacing a part
Use the observation that most closely matches your yard. Each row changes the next test, so you do not spend an afternoon proving the wrong theory.
What it meansA gasket, diaphragm edge, loose fastener pattern, or warped surface is involved.
Do nextMatch the exact valve before depressurizing and opening it.
What it meansAn external control seal or seating problem is likely.
Do nextSeat it only as specified; do not force plastic threads.
What it meansThe outlet side or a nearby lateral fitting is more likely than the continuously pressurized inlet.
Do nextDry the area and watch the first wet point during a short run.
What it meansA pressurized body, inlet, or manifold is damaged.
Do nextClose the dedicated irrigation supply promptly.
Four tests that narrow the fault
Stop as soon as one result gives you a clear boundary. The goal is not to perform every test; it is to eliminate whole groups of causes safely.
- 01
Create a dry baseline
Pump or sponge out the box, wipe the valve, and place dry paper at separate suspected points.
IF YES / NORMALThe first wet location becomes visible.
IF NO / ABNORMALWater arriving from below or another fitting means the named valve may not be the source.
- 02
Observe off and running states
Watch first with every zone off, then during a brief run of the identified zone.
IF YES / NORMALTiming separates pressurized inlet/valve surfaces from outlet-side leaks.
IF NO / ABNORMALA leak unrelated to station state needs supply isolation and wider tracing.
- 03
Check external controls without force
Confirm the bleed screw and solenoid are in their documented closed positions.
IF YES / NORMALA correctly seated control stays dry.
IF NO / ABNORMALA damaged O-ring, thread, or sealing surface needs the exact part.
- 04
Inspect internally only when isolated
Shut water off, relieve pressure, photograph orientation, and inspect model-specific seals and mating surfaces.
IF YES / NORMALClean, undamaged parts reassemble evenly and remain dry.
IF NO / ABNORMALCracks, distortion, or grooves require replacement rather than sealant.
Common fixes that waste time
Extra torque can split the body or deform the seal.
A pressurized structural crack needs the correct replacement component.
Water can travel through the box from a manifold joint, lateral, rain, or groundwater.
How the evidence changes the repair
A valve box refilled slowly although the nearest solenoid looked wet.
- After drying, the solenoid stayed dry for ten minutes with all zones off.
- A paper strip beneath the inlet adapter became wet first.
- The leak continued regardless of which station ran.
Water had migrated across the valve and made the solenoid look guilty. A dry-baseline test located the continuously pressurized adapter, preventing an unnecessary solenoid replacement.
How to confirm the repair actually held
A single successful start can hide an intermittent splice, sticky valve, remaining leak, or scheduling problem. Recreate the original conditions before calling the job finished.
Pass: No bead forms at the repaired seam or control.
If not: The seal, thread, or body is still leaking.
Pass: The repair remains dry under both closed and open states.
If not: The first wet point under flow identifies a separate outlet-side leak.
Pass: No new clean water enters the box.
If not: A nearby manifold or mainline leak may have been mistaken for the valve.
Check these in order
- 01
Dry and expose the source
Remove standing water and wipe the valve. A dry surface reveals whether water begins at the coil, bonnet seam, anti-siphon cap, adapter, or valve body.
- 02
Observe both off and running states
A leak with all zones off is on a continuously pressurized surface or fitting. A leak that appears only while the zone runs may be on the outlet or lateral side.
- 03
Check external controls gently
Confirm the bleed screw and solenoid are seated as the manufacturer specifies. Do not use heavy force on plastic threads or treat overtightening as a permanent repair.
- 04
Match the valve before opening
Photograph the body markings and piping direction. Gaskets, diaphragms, springs, and anti-siphon parts vary; visually similar kits may not seal correctly.
- 05
Replace cracked pressure parts
A split valve body or cracked threaded adapter should not be patched while pressurized. Isolate water and replace the correct component or manifold section.
- The leak is on the mainline, backflow device, or anti-siphon assembly.
- Plastic fittings are cracked or the manifold moves when touched.
- The dedicated irrigation shutoff does not stop the leak.
What homeowners ask about this symptom
Can I tighten a leaking sprinkler solenoid?
Only gently and only to the manufacturer's seated position. Overtightening can damage plastic threads or seals; continued leakage requires the correct seal or solenoid service.
Why does the valve leak only when the zone runs?
That pattern often places the leak on the outlet or lateral side, or at a component exposed to full differential pressure only while the valve is open.
Sources and review notes
General maintenance logic is checked against EPA WaterSense outdoor irrigation guidance. Product controls and disassembly steps vary by model; use the current manufacturer manual for your exact valve, controller, or sprinkler head.
Published and last reviewed: August 28, 2026