A valve that will not open from its manual bleed is not primarily a controller problem. First confirm that water reaches the valve and any master valve is open. Then check the flow-control setting and, with water isolated, the valve's pilot passages and diaphragm.
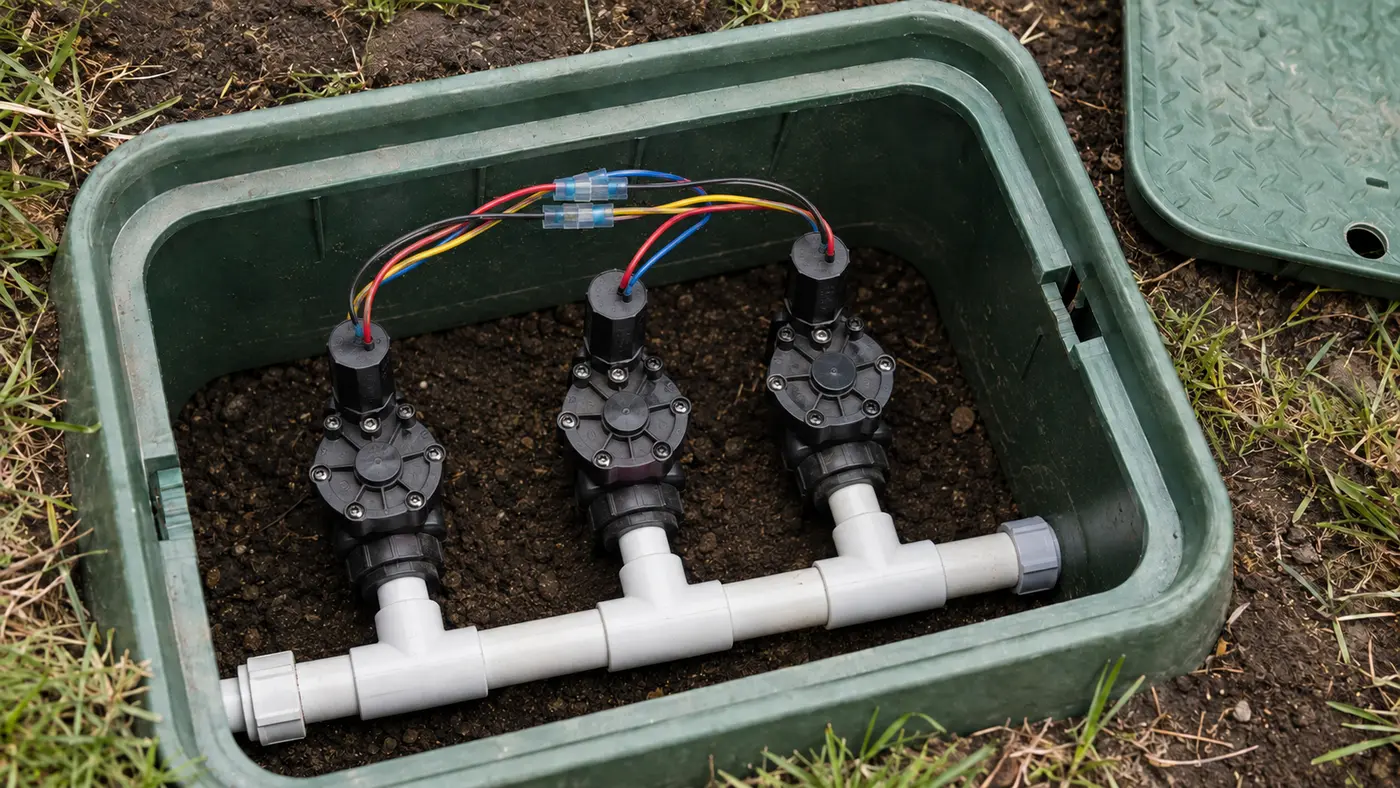
What each manual test actually proves
Do not combine all manual-opening attempts into one result. The external bleed and solenoid-side pilot path can fail independently.
| Observed result | What it rules in | Next action |
|---|---|---|
| Bleed works; solenoid turn does not | Solenoid plunger or its exhaust path | Check exact-model solenoid and pilot passage |
| Solenoid turn works; bleed does not | Blocked bleed screw/passage | Clean only by manufacturer procedure |
| Neither works; neighboring valve works | Local valve restriction or assembly | Check flow control, arrow, diaphragm, ports |
| No valves open manually | Shared supply, master valve, pump | Trace upstream before opening a bonnet |
Use this boundary: A manual test bypasses the controller. It cannot prove station programming or controller output.
Manual controls are not identical across valves
Use this table to identify the control you actually have. The values below are manufacturer examples, not permission to turn every solenoid or bleed screw by the same amount.
| Valve family | Documented manual action | What the result isolates |
|---|---|---|
| Hunter PGV and related Hunter valves | Turn the solenoid or bleed screw about 1/4 turn | Solenoid path and external bleed can be compared separately |
| Rain Bird DV/DVF | Solenoid about 1/4 turn; external bleed about 1/2 turn where permitted | Solenoid actuation versus a flushing bleed path |
| Rain Bird PGA / PEB / PESB | Internal bleed operates without filling the box; external bleed is intended for flushing | Normal operation versus debris-flushing behavior |
| Rain Bird HV | Internal spray-free bleed plus external flushing bleed | Two different pilot paths on the same valve family |
| Orbit jar-top / L-series examples | Use the manual lever, bleed screw, or limited solenoid twist specified for that model | Water-supply and hydraulic operation before electrical testing |
What the sample changes: If one approved manual method works and another does not, the valve is giving you a location clue—not contradicting itself.
Manufacturer instructions reviewed August 30, 2026. Confirm the complete model number molded into the body before operating a control; never fully remove a solenoid or bonnet under pressure.Match the pattern before opening anything
| Possible cause | Best clue | First check |
|---|---|---|
| No water at valve | No water sound or bleed flow | Verify supply and any master valve |
| Flow control closed | Control stem was recently adjusted | Check model-specific position |
| Bleed or exhaust passage blocked | Other valves on the manifold work | Service passages with water off |
| Diaphragm installed incorrectly | Failure began after rebuild | Compare spring and port orientation to diagram |
Read the system before replacing a part
Use the observation that most closely matches your yard. Each row changes the next test, so you do not spend an afternoon proving the wrong theory.
What it meansThe main diaphragm can move; the solenoid-side exhaust path or plunger may be restricted.
Do nextIdentify the exact valve and inspect only its documented pilot path with water off.
What it meansThe bleed screw or its small passage may be blocked.
Do nextClean the model-approved passage without drilling or enlarging it.
What it meansThis valve has a closed flow control, blocked inlet/ports, reversed installation, or internal assembly fault.
Do nextCheck flow-control position and valve orientation before opening the bonnet.
What it meansThe common water source, master valve, pump, or upstream isolation is the stronger boundary.
Do nextStop dismantling individual valves and trace the shared supply.
Four tests that narrow the fault
Stop as soon as one result gives you a clear boundary. The goal is not to perform every test; it is to eliminate whole groups of causes safely.
- 01
Compare both approved manual methods
If the manufacturer permits both, try the external bleed and then a limited 1/4–1/2 turn of the solenoid. Never remove either part under pressure.
IF YES / NORMALOne method works: the result identifies which pilot passage needs attention.
IF NO / ABNORMALNeither works: prove water, flow control, direction, and diaphragm assembly.
- 02
Prove inlet water with a neighboring valve
Run or manually open another valve supplied by the same manifold; manually open the master valve too if the design requires it.
IF YES / NORMALThe shared inlet is available, so remain on the failed valve.
IF NO / ABNORMALThe problem is upstream; the failed zone valve may be innocent.
- 03
Check flow control and direction
Record the flow-control starting position and find the molded flow arrow. Do not force a seized stem or guess based on pipe appearance.
IF YES / NORMALThe control is open and the arrow follows normal flow; continue to the pilot path.
IF NO / ABNORMALCorrect the documented setting or reversed installation before replacing electrical parts.
- 04
Inspect the control chamber safely
Close the irrigation supply, relieve pressure, photograph orientation, and inspect diaphragm, spring, inlet and exhaust ports using the exact model procedure.
IF YES / NORMALDebris removal or correct reassembly restores repeatable manual opening.
IF NO / ABNORMALA distorted diaphragm, damaged seat, or obsolete part supports a matched rebuild or valve replacement.
Numbers worth measuring
Relevant only after the valve opens manually; electrical testing cannot create missing inlet water.
This is not universal. Use the exact valve manual and never unscrew the solenoid fully under pressure.
Common fixes that waste time
A controller is bypassed by the valve's hydraulic manual controls.
Stored pressure can eject water and parts and cause injury.
Calibrated pilot passages control diaphragm pressure; enlargement can create a new failure.
How the evidence changes the repair
One valve would not open from the controller or its bleed screw, while two neighboring valves worked.
- The shared manifold therefore had water.
- The solenoid method also produced no flow.
- The flow-control stem was found fully closed after earlier service.
The two-method test and working neighbor ruled out the controller and shared supply. Returning the documented flow control to service position restored the valve without replacing the solenoid or diaphragm.
How to confirm the repair actually held
A single successful start can hide an intermittent splice, sticky valve, remaining leak, or scheduling problem. Recreate the original conditions before calling the job finished.
Pass: The valve opens and closes consistently without removing parts under pressure.
If not: Supply, flow control, pilot path, or diaphragm assembly remains unresolved.
Pass: The shared inlet remains normal and the repaired valve now matches it.
If not: A shared water-path problem may coexist.
Pass: No bonnet, bleed, solenoid, or fitting leak appears.
If not: Depressurize and correct the first wet or sticking point.
Check these in order
- 01
Use the correct manual method
Some valves open with a bleed screw; others permit a limited solenoid turn. Do not remove the solenoid or bleed screw while the system is pressurized.
- 02
Check for water at the manifold
Try a known-good valve sharing the same supply. If it also fails, move upstream to the shutoff, master valve, pump, or backflow path rather than dismantling the first valve.
- 03
Inspect flow control
A closed flow-control stem can prevent output even when the pilot opens. Record the current setting and follow the valve's adjustment instructions.
- 04
Service pilot passages only after isolation
Small exhaust passages can be blocked by grit or glue. Shut the dedicated irrigation supply, relieve pressure, and use the manufacturer procedure without enlarging calibrated openings.
- 05
Verify rebuild orientation
A displaced spring, pinched diaphragm, blocked port, or reversed part can keep a rebuilt valve closed. Match the exact model diagram before reassembly.
- No valves receive water and the upstream controls are uncertain.
- The valve is under continuous pressure and cannot be isolated.
- The body or manifold is damaged during inspection.
What homeowners ask about this symptom
If the valve will not open manually, is the solenoid bad?
Usually the manual bleed bypasses electrical solenoid action. Failure to open manually points first to missing water, closed flow control, clogged pilot passages, or diaphragm trouble.
Can I remove the bleed screw while water is on?
No. Use only the limited opening described by the manufacturer. Removing parts under pressure can cause water discharge, lost components, and damage.
Sources and review notes
General maintenance logic is checked against EPA WaterSense outdoor irrigation guidance. Product controls and disassembly steps vary by model; use the current manufacturer manual for your exact valve, controller, or sprinkler head.
Published and last reviewed: August 30, 2026