If water keeps flowing after the controller is switched off, the controller is no longer commanding the valve. The usual cause is a valve held open by debris, a damaged diaphragm, a loose solenoid, or an open bleed screw.
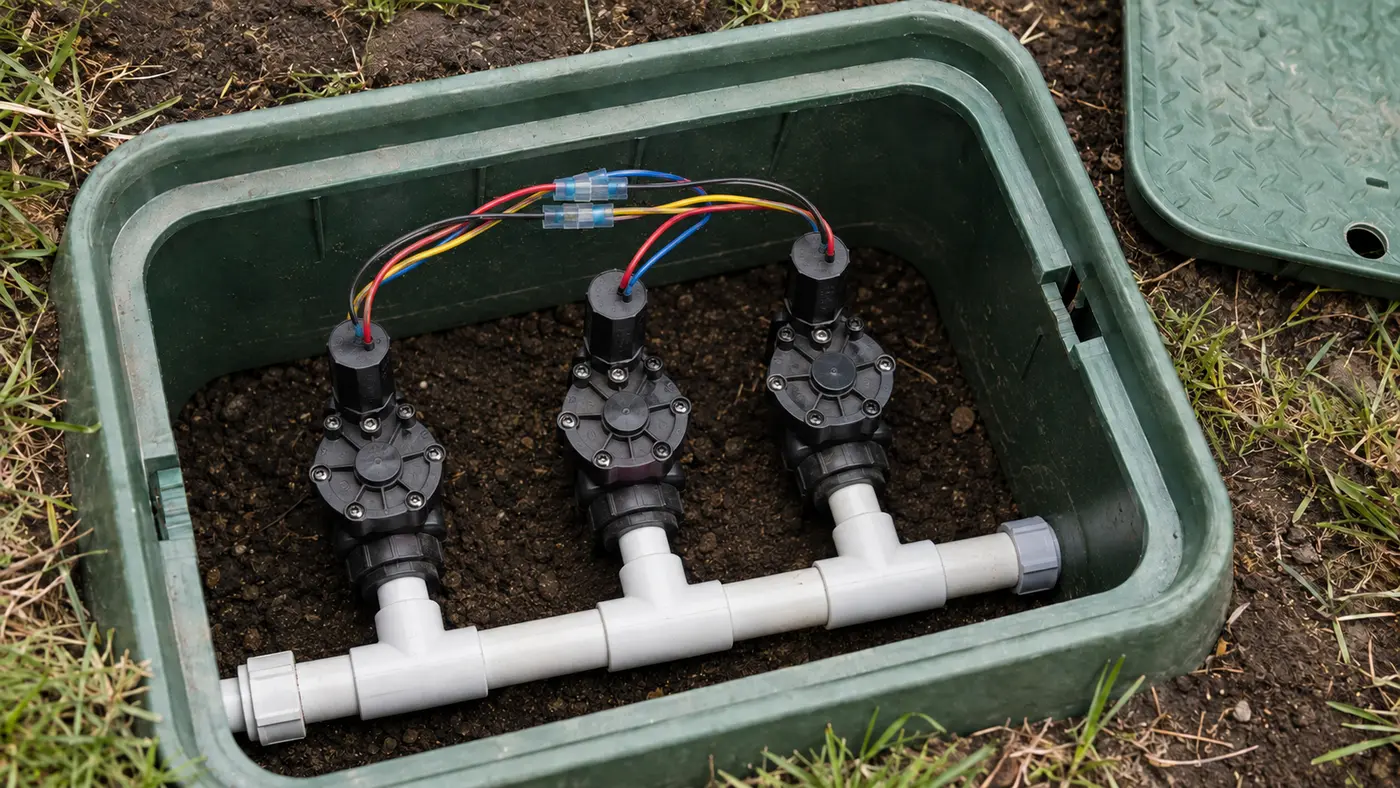
Match the pattern before opening anything
| Possible cause | Best clue | First check |
|---|---|---|
| Manual bleed left open | Problem began after valve work | Inspect bleed screw and solenoid position |
| Debris on valve seat | Zone started sticking after supply work | Shut water off before valve service |
| Torn diaphragm | Valve cannot seal after cleaning | Match replacement to exact valve model |
| Controller output stuck on | Valve closes when controller wire is removed | Have the terminal output tested |
Read the system before replacing a part
Use the observation that most closely matches your yard. Each row changes the next test, so you do not spend an afternoon proving the wrong theory.
What it meansThe controller, wiring, or a manual command is holding the solenoid on.
Do nextInspect programs, manual run state, and station output.
What it meansThe valve is not sealing mechanically.
Do nextUse the irrigation shutoff, then inspect bleed, solenoid seating, diaphragm, and debris.
What it meansDebris may have reached the diaphragm seat.
Do nextFlush and clean the exact valve according to its manual.
What it meansThe valve may be weeping through a small obstruction instead of being fully commanded open.
Do nextLook for debris, a wrinkled diaphragm, or a damaged seat.
What resolved repairs add to this diagnosis
We matched 19 of the 100 reviewed outcomes to this symptom family. This is a convenience sample, not a universal failure-rate estimate, but every included case reports what restored operation.
Most matching outcomes were mechanical: debris, diaphragm trouble, incorrectly seated valve parts, or a manually opened solenoid. A stuck electrical command existed, but it was not the default explanation.
Remove controller power first. Continued flow after the command is gone moves the diagnosis to the valve; flow that stops keeps controller output and crossed wiring in play.
Opening and then reseating the bleed screw allowed the valve to close normally.
C21 · reported resolutionA Hunter PGV valve would not close completelyReplacing the diaphragm stopped the persistent flow, although the homeowner noted this valve had needed the same repair before.
C55 · reported resolutionReplacement WaterMaster solenoids would not let the valves closeRemoving the old valve O-ring that duplicated the new solenoid's built-in O-ring allowed the solenoids to seat and stop flow.
C93 · reported resolutionAll valves stayed energized regardless of controller dial positionA practitioner reported constant output from the old controllers; replacing them stopped the unwanted voltage.
Four tests that narrow the fault
Stop as soon as one result gives you a clear boundary. The goal is not to perform every test; it is to eliminate whole groups of causes safely.
- 01
Remove the electrical command
Turn the controller to OFF. If safe and accessible, disconnect controller power without touching hardwired mains.
IF YES / NORMALWater stops: investigate programming, station output, or crossed wiring.
IF NO / ABNORMALWater continues: the valve cannot close mechanically.
- 02
Close the dedicated irrigation supply
Use the known irrigation isolation valve and wait for pressure to fall.
IF YES / NORMALFlow stops and the emergency is contained.
IF NO / ABNORMALIf water continues, verify that the correct shutoff and zone were identified.
- 03
Check external controls first
With pressure off, confirm the bleed screw is closed, the solenoid is snug by hand, and flow control is not mispositioned.
IF YES / NORMALCorrecting a loose external control restores closure without opening the valve.
IF NO / ABNORMALPersistent flow requires internal inspection.
- 04
Inspect the sealing path
Following the exact model guide, document bonnet orientation and examine diaphragm, spring, ports, and seat for debris or damage.
IF YES / NORMALClean components reassemble and the valve passes a short test.
IF NO / ABNORMALTears, grooves, distortion, or repeat sticking call for the correct repair kit or valve replacement.
Common fixes that waste time
A pebble under the diaphragm does not care how many times the display changes.
Overtightening can damage threads or the valve body; follow the model instructions.
Stored water can eject parts and cause injury. Isolate and depressurize first.
How the evidence changes the repair
Zone 2 continued at full flow after the controller was unplugged.
- Removing power produced no change.
- The dedicated irrigation shutoff stopped the flow.
- A small fragment of pipe sealant was found on the diaphragm seat after recent mainline work.
The power-off test ruled out scheduling and stuck controller output in seconds. The timing after plumbing work correctly raised debris above electrical causes.
How to confirm the repair actually held
A single successful start can hide an intermittent splice, sticky valve, remaining leak, or scheduling problem. Recreate the original conditions before calling the job finished.
Pass: Flow stops promptly without using the irrigation shutoff.
If not: Do not keep cycling; isolate water and reopen the valve diagnosis.
Pass: Only brief residual drainage, if any, remains.
If not: The valve may still be weeping even though full flow stopped.
Pass: No external seep appears around parts disturbed during service.
If not: Depressurize and correct assembly or replace the damaged sealing component.
Check these in order
- 01
Turn the controller off
Set the controller to OFF rather than merely cancelling a program. If flow continues, treat the problem as a mechanical valve fault until testing proves otherwise.
- 02
Stop the irrigation water
Use the dedicated irrigation shutoff if its identity and operation are known. Avoid forcing old handles or dismantling a backflow preventer under pressure.
- 03
Check external valve controls
With water off, verify that the manual bleed is closed and the solenoid is seated according to the manufacturer. Do not overtighten plastic parts.
- 04
Inspect internally only when matched
Photograph the valve orientation, identify its model, and use the correct diaphragm kit. Springs and ports must return to their original positions.
- You cannot stop the water promptly.
- The shutoff, backflow device, or valve is cracked.
- Water is approaching the house, street, or electrical equipment.
What homeowners ask about this symptom
Why does the zone keep running after I turn the controller off?
Once the controller is off, continued flow usually means the hydraulic valve is mechanically held open by debris, a damaged diaphragm, an open bleed, or a loose solenoid.
Can I stop one stuck zone at the controller?
Turn the controller off first. If water continues, use only a positively identified irrigation shutoff. Do not rely on repeated controller commands to close a mechanically stuck valve.
Sources and review notes
General maintenance logic is checked against EPA WaterSense outdoor irrigation guidance. Product controls and disassembly steps vary by model; use the current manufacturer manual for your exact valve, controller, or sprinkler head.
Published and last reviewed: August 30, 2026